Apply filters to make better the image.
It is not so rare when an initial video file has some kind of quality that you want to improve a little or simply change. In order to improve quality of a video frame or graphic file, use filters. They can help to change colors, contrast, gamma, and so on.
VideoCharge Studio has a wide range of filters for correction of video or graphic files.
How to apply filters?
In order to apply filters to your video or graphic file you need do the following:
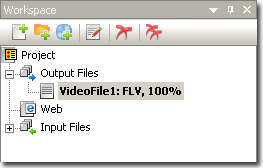
- In the "Workspace" select an output format for files which will be created applying image correction.
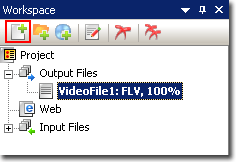
- Add initial video or graphic files using the button on the toolbar.
- In the "Workspace" select any of the added files and open Filters tab of the main window.
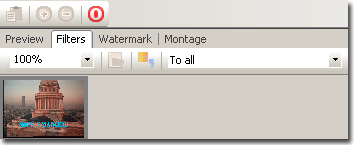
- There are two control elements to apply filters: low control -"CROP and Color Correction" and Filter tabs in the "Properties". You can do the following:
- Specify Brightness, Contrast, Gamma.
For that open Common tab and change position of the slider bar until you get a necessary value or type it manually.

- Specify Level
Open Level tab and change position of the slider bar until you get a necessary value or type it manually.

- Specify Color Balance.
Open Color Balance tab and change position of the slider bar until you get a necessary value or type it manually.

- Specify mixing of RGB: original colors will be changed into colors corresponding to values set for RGB schema.
Open RGB tab and change position of the slider bar until you get a necessary value or type it manually.

- Specify YUV mixing: original colors will be changed into colors corresponding to values set for YUV schema.
Open YUV tab and change position of the slider bar until you get a necessary value or type it manually.

- Specify HSL mixing: original colors will be changed into colors corresponding to values set for HSL schema.
Open HSL tab and change position of the slider bar until you get a necessary value or type it manually.

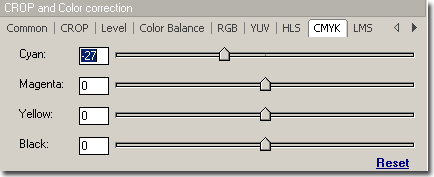
- Specify CMYK mixing: original colors will be changed into colors corresponding to values set for CMYK schema.
Open CMYK tab and change position of the slider bar until you get a necessary value or type it manually.
- Specify LMS mixing: original colors will be changed into colors corresponding to values set for LMS schema.
Open LMS tab and change position of the slider bar until you get a necessary value or type it manually.

- If you want to apply the algorithm of automatic calculation of the necessary Level, select Auto Color Level in the "Properties".
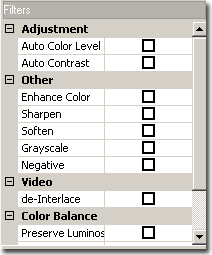
- If you want to apply the algorithm of automatic calculation of the necessary Contrast, select Auto Contrast in the "Properties".
- If you want to enhance colors, select Enhance Color value in the "Properties".
- If you want to enhance image sharpness, select Sharpen value in the "Properties".
- If you want to blur a video or image, select Soften value in the "Properties".
- If you want to convert your image to grayscale, select Grayscale in the "Properties".
- If you want to create an image negative, select Negative in the "Properties".
- If you want to delete Interlace effect for a video, select de-Interlace "Properties".
- Press "Generation" button to create files:

|


